
Master the Art of Edging Your Garden Bed in 2025
Edging your garden bed is more than just a finishing touch—it’s a game-changer. When you edge your garden bed, clean edges create clear boundaries that instantly elevate your garden’s look. This process also stops grass and weeds from creeping in, which keeps your plants healthier by reducing competition for water and nutrients. Plus, it makes maintenance a breeze! In 2025, modern tools and techniques make it easier than ever to edge your garden bed like a pro. Why wait? Start transforming your garden today.
Preparation to Edge Your Garden Bed
Before you edge your garden bed, preparation is key. A little planning and the right tools can make the process smoother and more enjoyable. Let’s break it down step by step.
Choosing the Right Tools for Edging
The right tools can make all the difference when you edge a garden. Depending on your needs, you have several options:
A spade is perfect for creating natural edges and digging clean lines.
A half-moon edger helps you achieve straight, precise edges with ease.
For larger projects, a gas-powered or electric edger saves time and effort.
You’ll also need a few essentials like gardening gloves, a rubber mallet, and a level to ensure evenness. Don’t forget a garden rake and a wheelbarrow to clear debris as you work. With these tools, you’ll be ready to edge your garden bed like a pro.
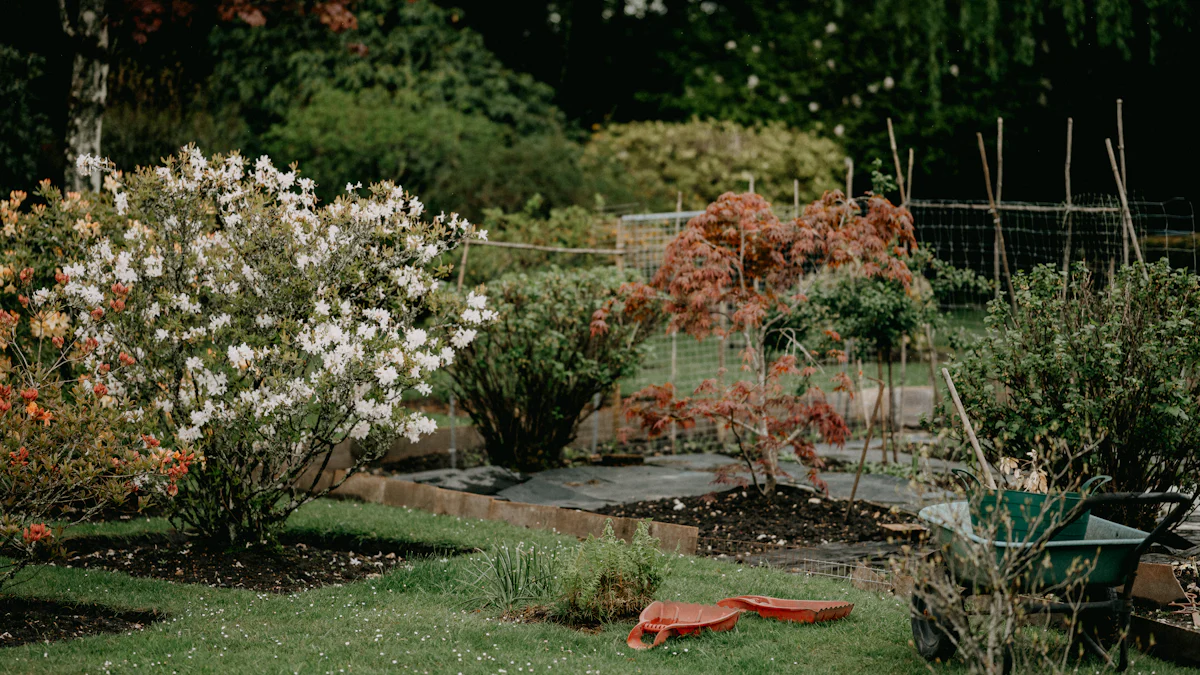
Selecting the Best Materials for Garden Bed Edging
Choosing the right materials is just as important as picking the right tools. In 2025, durable and cost-effective options like composite edging are popular. Made from wood fibers and recycled plastic, composite edging resists rot, fungus, and insects. It’s also available in various colors to match your garden’s style.
Here’s a quick comparison of other materials:
Material |
Advantages |
Disadvantages |
|---|---|---|
Concrete |
Highly durable, clean appearance, cost-effective compared to natural stone |
Heavy, requires installation |
Plastic |
Lightweight, flexible, easy to install, budget-friendly |
Less durable than metal |
Metal |
Extremely durable, sleek look, low maintenance |
Can be more expensive |
Pick a material that suits your garden’s needs and your budget.
Planning and Marking the Layout
Planning your layout ensures precision when you edge a flower bed. Start by deciding on the shape—do you want straight lines or gentle curves? Use a garden hose or string to mark the border. This helps you visualize the design before committing.
Once you’re happy with the outline, mark the border with spray paint or stakes. Take a step back and view it from different angles to ensure it looks just right. A little extra time here saves you from redoing the work later.
With the right tools, materials, and a solid plan, you’re ready to edge your garden bed with confidence.
How to Edge a Garden Bed Step by Step
Marking the Edge Line
The first step to edge your garden bed is marking the edge line. This sets the foundation for a clean and precise border. Here’s how you can do it:
Use a garden hose to outline the shape of your bed. Adjust it until you’re happy with the design.
For smooth curves, step on the hose to hold it in place while fine-tuning.
Once satisfied, mark the line with spray paint or stakes for better visibility.
Pro Tip: A garden hose works wonders for curved designs, while string is ideal for straight edges. Take a step back to ensure the layout looks balanced before moving forward.
Cutting and Removing Sod
Now it’s time to cut and remove the sod. This step clears the way for a defined edge. Follow these tips for the best results:
Water the area a few days before starting. Moist soil makes cutting easier.
Mow the grass short if it’s overgrown. This helps you see the edge line clearly.
Use a manual square sod cutter for small areas or a motorized one for larger spaces.
Remove any obstacles like pots or debris to avoid interruptions.
Safety Note: Watch out for sprinkler heads or utility lines. Mark them beforehand to prevent accidents.
Shaping and Smoothing the Edge
With the sod removed, it’s time to shape and smooth the edge. Grab your edging tool and follow these steps:
Press the tool into the ground along the marked line to create an impression.
Dig deeper to define the edge, aiming for a depth of 4 to 6 inches.
Refine the shape with a spade or hand shears for a sharp, polished look.
Patience Pays Off: Take your time, especially with curves. A well-shaped edge not only looks great but also keeps grass and weeds at bay.
Adding Finishing Touches to Edge a Flower Bed
The final step is all about enhancing the appearance of your flower bed edging. Small details can make a big difference:
Experiment with materials like mulch, stones, or decorative bricks to complement your garden’s style.
Add a layer of mulch along the edge to suppress weeds and retain moisture.
Consider creative designs to give your garden a unique touch.
Quick Tip: Simple changes in edging can transform the overall look of your garden. Don’t be afraid to get creative!
By following these steps for edging a garden bed, you’ll achieve a professional and polished look that’s easy to maintain.
How to Maintain the Edge and Enhance Your Garden Bed
Regular Upkeep for Clean Edges
Keeping your garden bed looking sharp requires regular attention. Clean edges not only enhance the appearance but also prevent grass and weeds from creeping in. Use an edging tool every few weeks to redefine the border. A quick pass with a spade or half-moon edger can restore that well defined edge. Remove any debris or overgrown grass along the edge to keep it tidy.
Quick Tip: After heavy rain, check the edges for soil erosion. Fixing it early saves you time later.
Seasonal Care for Garden Bed Edging
Each season brings unique challenges for garden edging. In spring, inspect the edges for damage caused by winter frost. Reapply mulch to protect plant roots and retain moisture. During summer, water the soil around the edges to prevent cracking. Fall is the perfect time to remove fallen leaves and prepare for winter.
Pro Tip: Add a layer of mulch before winter to protect the natural garden edge from freezing temperatures.
Avoiding Common Mistakes
Mistakes can undo all your hard work. Here are some common ones to avoid:
Placing edging too close to trees. Leave enough space for planting areas.
Cutting tree roots thicker than two inches. This can harm the tree’s health.
Ignoring uneven edges. Always use a level to ensure consistency.
Reminder: A little extra care during installation can save you from costly repairs later.
Advanced Tips for Decorative Edging and Mulching
Take your garden to the next level with advanced techniques. Decorative materials like stone or metal can complement your garden’s style while creating a polished look. Mulching around trees not only protects roots but also improves moisture retention. This enhances plant health and reduces maintenance.
Creative Idea: Combine edging materials for a unique design. For example, pair metal edging with colorful stones for a modern touch.
By following these tips, you’ll maintain the edge of your garden bed effortlessly while enhancing its overall appeal.
Edging your garden bed is more than just a task—it’s a way to bring structure and beauty to your outdoor space. Proper preparation, execution, and maintenance create clear boundaries, control grass, and protect plant roots. You’ll enjoy a polished look while reducing the time spent on upkeep.
Key Benefits of Edging:
Prevents grass from invading your garden beds.
Defines boundaries for a neat, organized appearance.
Enhances aesthetics with clean, professional edges.
Simplifies maintenance by reducing weed growth.
Take pride in your garden! Try advanced techniques like stamped concrete or raised borders to add personality. Edging transforms your garden into a cohesive, stunning space. Why not start today? Your garden deserves it!


