Raised Garden Beds for Beginners: A Step-by-Step Guide to Success
Embark on a rewarding journey of cultivating your own fresh produce with raised garden beds! These versatile gardening structures offer a multitude of benefits, making them an ideal choice for both novice and experienced gardeners. Whether you're aiming to transform your backyard, patio, or balcony into a flourishing oasis, raised garden beds provide the perfect foundation for achieving your gardening goals.
Unveiling the Advantages of Raised Garden Beds:
Raised garden beds elevate your gardening experience in numerous ways:
-
Enhanced Soil Quality: Improved drainage and aeration promote healthier plant growth.
-
Reduced Soil Compaction: Easier access to the soil minimizes compaction, fostering thriving root systems.
-
Weed Control: Elevated beds make it easier to manage weeds, saving you time and effort.
-
Pest Protection: The height of the beds deters pests like slugs and snails from reaching your plants.
-
Accessibility: Reduced back strain and improved accessibility make gardening more enjoyable.
-
Versatility: Suitable for a wide range of plants, from vegetables and herbs to flowers and shrubs.
-
Visual Appeal: Add a touch of elegance and style to your outdoor space.
Embarking on Your Raised Garden Bed Adventure:
Ready to transform your outdoor space into a thriving garden haven? Follow these step-by-step instructions to build your own raised garden bed:
Step 1: Choose Your Location:
Select a well-drained, sunny spot that receives at least 6-8 hours of sunlight daily. Ensure the area is level and free of debris.
Step 2: Determine the Size:
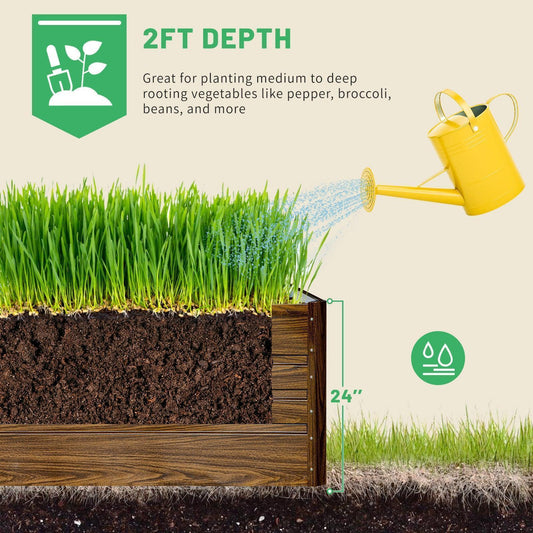
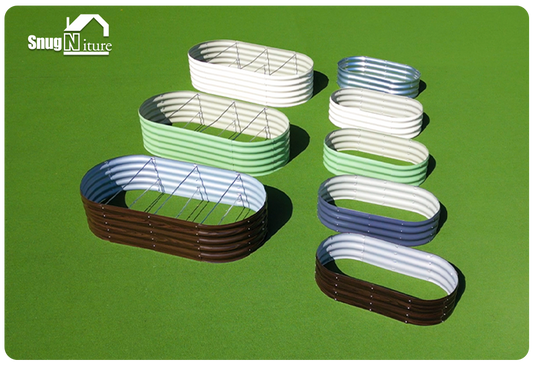
Consider the available space and the number of plants you intend to grow. Common raised garden bed sizes range from 3' x 3' to 4' x 8'.
Step 3: Gather Materials:
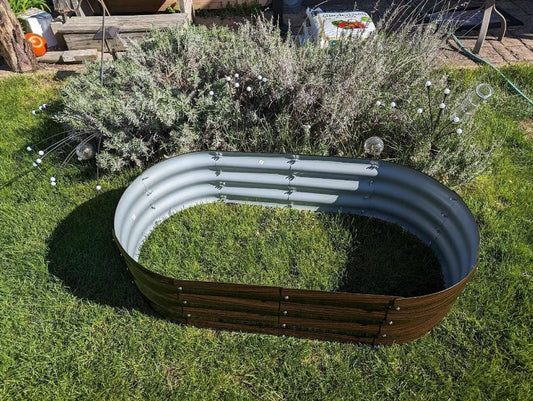
You'll need durable materials like wood, metal, or concrete blocks for the bed frame. Choose a suitable size for your desired height.
Step 4: Construct the Frame:
Cut the materials to the desired dimensions and assemble the frame using screws, bolts, or nails. Ensure the frame is sturdy and level.
Step 5: Line the Bed:
Use a weed barrier liner to prevent weeds from sprouting and retain moisture in the soil.
Step 6: Fill with Soil:
Fill the bed with a high-quality raised garden bed soil mix. Ensure the soil is evenly distributed and level.
Step 7: Plant Your Seeds or Seedlings:
Follow the planting instructions for your chosen plants. Space them appropriately to allow for proper growth.
Step 8: Water Regularly:
Provide consistent moisture to your plants, especially during hot and dry periods.
Step 9: Monitor and Maintain:
Regularly check for pests and diseases. Remove weeds and prune plants as needed.
Step 10: Harvest and Enjoy:
Reap the rewards of your labor by harvesting your homegrown produce. Enjoy the fresh flavors and satisfaction of your gardening efforts.
Additional Tips for Raised Garden Bed Success:
-
Rotate Crops: Each year, rotate the types of plants grown in each section of the bed to prevent nutrient depletion and soil-borne diseases.
-
Add Organic Matter: Regularly incorporate compost or aged manure into the soil to enhance its nutrient content and improve drainage.
-
Mulch Around Plants: Apply a layer of organic mulch, such as shredded leaves or bark, to conserve moisture, suppress weeds, and regulate soil temperature.
-
Protect from Extreme Weather: Shield your plants from harsh weather conditions like intense sunlight, strong winds, and frost.
Embrace the Joy of Raised Garden Bed Gardening:
With these simple steps and helpful tips, you're well on your way to creating a thriving raised garden bed that will provide you with fresh, delicious produce and endless gardening satisfaction. Remember, gardening is a journey of learning and experimentation. Enjoy the process, embrace challenges, and celebrate your successes along the way.


